
How to Keep Your WordPress Blog Publishing Fresh Content With AI Everyday
How do you keep a WordPress blog publishing fresh content with AI? Set up an AI autoblogging campaign, choose the subject and WordPress category, set the writing options, and pick a day for new posts. My Content Creator Pro Elite uses ChatGPT to write and publish the articles automatically based on your campaign settings. You do not have to sit down and write each post yourself. For fresh posts every day, give different campaigns their own publishing days. Check the finished content so it stays useful and accurate.
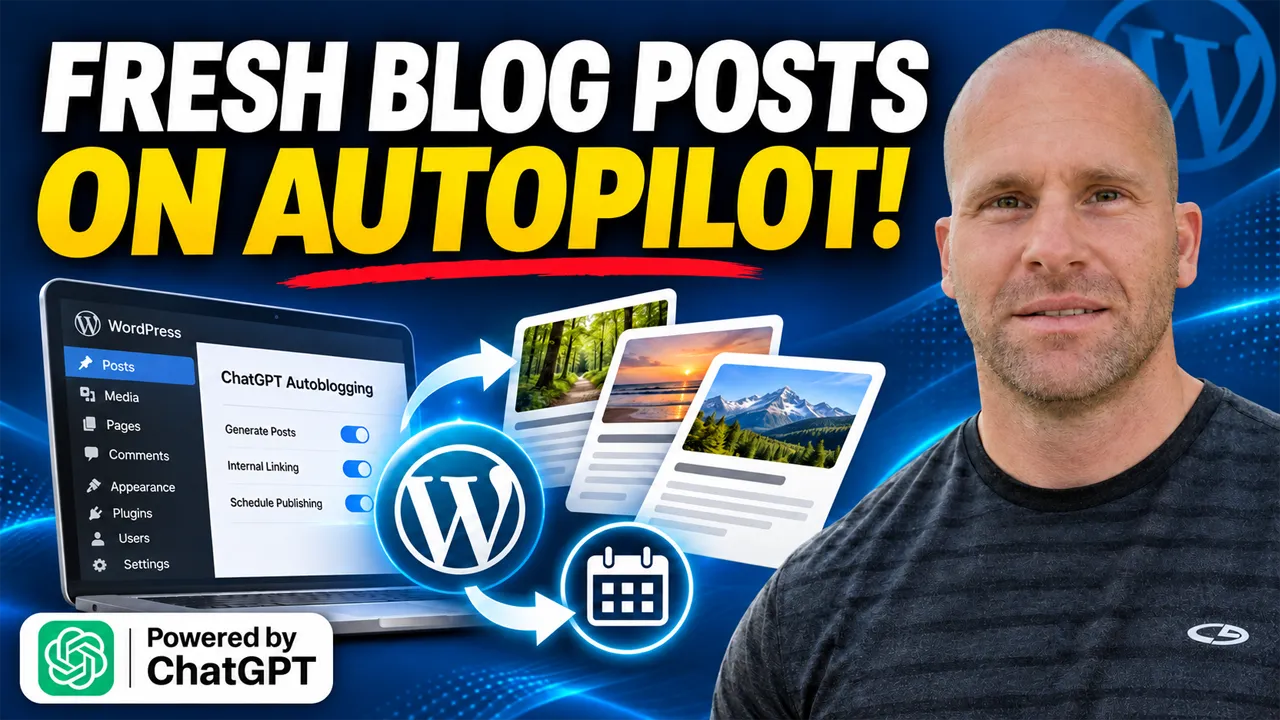
I’m Chad Portnova, Owner and Developer of My Content Creator Pro Elite. In the video below, I work inside my real All About Dog Training WordPress website. I show a campaign called Dog Health & Nutrition, go through its AI writing and SEO settings, and open a finished dog-training post so you can see the result. I’ll explain the same steps in plain English here.
Explore My Content Creator Pro Elite →
The Real AI Autoblogging Settings I Show in the Video
Before I walk through the steps, here’s the setup you can see on my screen. These are actual settings from the Dog Health & Nutrition example, not sample results or promises about what Google will do.
| Setting | My video example |
|---|---|
| Campaign topic | Dog Health & Nutrition |
| WordPress category | Dog Health & Nutrition |
| AI provider | ChatGPT |
| Post status | Publish |
| Interval and day | Once a week, Monday |
| Article length | 2,200 words |
| Language, style, tone | English, Persuasive, Educational |
| SEO and meta settings | On |
| FAQ and conclusion | On |
| Internal links | On, Smart / Automatic |
| Images | 3 images in the article; featured image separate |
| Image source | ChatGPT |
| YouTube video option | On, near the top of the page |
I like seeing these choices in one place. They tell the plugin what to write, where a post belongs, how it should look, and when it should appear. The system handles the repeated writing work. My part is to give it a clear direction and check what readers will see.
Step 1: Pick a Topic Your Readers Want to Learn About
Inside WordPress, I open My Content Creator Pro → Add Auto AI Schedule. The screen is called ChatGPT Autoblogging Setup. At the top is the campaign title. In this video, I use Dog Health & Nutrition because that is a subject on my dog-training site.
Start with a topic that belongs on your own website. If you teach people how to use WordPress, you might make a campaign about simple WordPress fixes. If you run a cooking blog, you might choose quick family meals. The subject should make sense to the people who visit your site.
I also open the plugin’s Keyword Research tool. A keyword is simply a word or phrase people may search for. You can use keyword ideas to guide the subjects AI writes about. You do not have to guess at every new article idea or manually create each article yourself.
Want a separate lesson on that part? Read my guide on how to find blog topics with AI and automatically write the articles.
Step 2: Add Your Own Experience or Source Notes
One part of the campaign form matters a lot if you want content that sounds like it belongs to your website. It has an area called Add your experience or source notes. When I expand it, you can see fields for the subject, what someone tried or learned, whose experience it is, and a person or source to credit.
Why is that helpful? AI can explain many common topics, but it does not know what you learned while running your business unless you tell it. A dog trainer may have a real tip about helping a puppy settle. A WordPress teacher may know the exact button that confuses beginners. A useful note gives the system better direction.
You do not need to make up a story to fill in the boxes. Only add something you really know or can support. If a fact needs a trustworthy source, keep track of it. Then look for that detail when you check the finished post. That’s a better way to build trust than adding an author name to a generic article.
Step 3: Choose ChatGPT, the Category, and Post Status
Next, I show the basic publishing choices. The AI Provider field is set to ChatGPT. The Post Category is Dog Health & Nutrition. This tells WordPress where the new article should be placed after it is created.
The Post status field is set to Publish. That matters. With a publishing campaign, the system can create the article and make it live without waiting for me to open the editor and press the Publish button for each one. It is the reason this is real autoblogging, not only an AI writing box.
If you are trying AI autoblogging for the first time, it may be wise to check a test article before letting a larger schedule run. Look at the facts, wording, images, and links. For more help with the full process, see my step-by-step WordPress AI autoblogging setup guide.
Step 4: Tell WordPress When to Publish the Articles
Here is the setting that keeps the work moving. In my video, the Interval is set to Once a week. Under Publish on, I choose Monday. That gives this one campaign a job every week. The form also says the day follows the WordPress site’s time zone.
Think of this like a calendar reminder, except the plugin is set up to create and publish the post. I do not have to remember to sit down each Monday and type a new dog-health article. The campaign already has its topic, category, writing rules, and publishing plan saved.
Before you leave your settings screen, read the interval and day together. If you meant to post on Monday but choose Friday, the plan won’t match what you wanted. Also check Settings → General in WordPress if you are not sure which time zone your site uses.
I go deeper into this in how to schedule AI blog posts in WordPress automatically.
Step 5: Set the Length, Style, and Tone
In my example, Content length shows 2,200 words and Language shows English. Further down, the screen shows a Persuasive writing style and an Educational tone. These are choices I make in the campaign. ChatGPT then writes the article using those settings.
Choosing a length does not mean you have to write 2,200 words. The AI does the writing. It also doesn’t mean every article must be that long. A simple answer may need less space. A detailed beginner lesson may need more. The goal is to make the finished post useful, not to hit a number at any cost.
For a dog-training lesson, I want plain steps that a new dog owner can follow. For a WordPress lesson, I want readers to know which menu to open and which button to click. When you read the final article, ask whether a real beginner could understand it. That’s a better check than word count alone.
Step 6: Turn On the SEO, FAQ, and Conclusion Options
As I move down the form, you can see SEO Optimize and SEO Meta Generator turned on. You can also see Generate FAQ and Generate Conclusion turned on. Generate Tags is turned off in this particular example.
These settings give the AI more jobs to do when it builds a post. An SEO title should tell a person what the page is about. A meta description should explain what they will find. Good headings let readers scan a long article. An FAQ can answer small questions that do not need a whole new post.
Still, turning on an SEO switch is not a guarantee that Google will rank the article. A good article has to help someone. It also needs accurate information. I think the best use of automation is to give the new post a strong starting structure, then check the parts that need a human eye.
The video also shows Google Preferred Sources switched on. That is a reader-facing Google feature, not a promise of higher rankings.
If you want to see that workflow by itself, read how to write SEO blog posts with AI in WordPress.
Step 7: Connect New Articles to Older Posts Automatically
The next option I show is Enable Internal Links, and it is turned on. The Internal Link Target is set to Smart / Automatic. An internal link sends a reader from one page on your website to another helpful page on the same website.
For example, someone reading about puppy care might also need a lesson on puppy training. If you already have that lesson, a relevant link can help the reader find it. It can also help search engines understand how your pages relate to one another.
The note beneath the Smart / Automatic setting says it takes article length into account and considers links already in the article. The goal is to add useful connections, not force the same number of links into every post. When a new post goes live, I still like to click its links and make sure they lead where a reader expects.
I’ve made a full video and guide on automatically adding internal links to WordPress blog posts.
Step 8: Let AI Add the Blog Images
I also show how images fit into the same campaign. In the video, Number of Images is set to 3 Images and Image Generation Source is set to ChatGPT. The screen explains that the three images go inside the article. The featured image is created separately.
That is an easy detail to miss. In this example, three images in the article plus a separate featured image means the post can have four images in total. You are not being asked to find each picture, download it, and place it into a post by hand as a separate job. Image creation is part of the automated setup.
Images should still match what the words say. If a dog-training article explains a mat exercise, the picture should not show a different training task. Check each image for confusing or incorrect details, especially when the topic needs an exact demonstration.
For more help, watch my tutorial on how to add AI images to WordPress blog posts automatically.
Step 9: Place a Related YouTube Video in the Post
Further down, I show the Add YouTube video option turned on. The placement shown is Top of Page. A related video near the beginning can give people another way to learn before they read the full lesson.
Think about a puppy learning to settle on a mat. Some readers may understand the steps better after watching a short demonstration. Others may prefer to read the instructions at their own pace. Giving people both choices can make the page more useful.
The video setting has a small limit worth remembering: some YouTube video owners block embedding. When you check a published article, make sure the video really plays. I cover that feature in how to automatically add YouTube videos to WordPress blog posts.
Step 10: Look at a Real Published Blog Post
One of my favorite parts of the video comes after the settings. I leave the campaign screen and open a real post on my dog-training website called Teaching a Puppy to Settle on a Mat. This lets you see the kind of page a visitor gets, not just what the plugin’s options look like.
On the live page, you can see a YouTube video and clear headings such as Why Mat Training Matters and Build a Positive Association. The article talks about helping a puppy become calm on a mat. The lesson explains why the skill matters and moves into practical steps.
I also open the post in the WordPress editor. The Yoast SEO panel shows green Good results for SEO analysis and readability analysis. That is useful feedback about the editor’s checks. It is not proof that the post will rank in Google or that every sentence is perfect.
This is why I show the finished article. I want you to see that My Content Creator Pro Elite is doing more than handing you a block of AI text. The goal is a complete WordPress post with writing, structure, images, video, links, and SEO options working together. You can then review the page as a reader would.
How Can You Get Fresh Blog Posts Every Day?
Here is the part that can be confusing if you only look at one campaign. One campaign set for Monday gives you a weekly Monday plan. It does not, by itself, create a fresh post on Tuesday, Wednesday, and every other day. To build a daily publishing plan, you need to cover more days.
You can do that by setting up more AI autoblogging campaigns for different subjects and assigning them different days. On a dog website, one subject could cover health, another could cover puppy training, and another could cover behavior. Each campaign can have its own WordPress category and schedule.
Here’s a simple way to think about the difference:
| Your goal | A simple plan |
|---|---|
| One new post each week | One weekly campaign with a chosen day |
| Three new posts each week | Three weekly campaigns on three different days |
| A new post every day | Cover all seven days with a planned group of campaigns |
This table is a planning example. The single campaign opened in this video is the Monday Dog Health & Nutrition campaign. You do not need to start with seven campaigns. Start with a pace you can review. When you are ready to spread topics across several days, read my guide to keeping WordPress blogs active without daily writing.
How Do You Keep Automatically Written Posts Helpful?
The AI handles the writing. That is the time-saving part. But I do not want you to confuse automatic with always correct. Before trusting an important article, open it like a visitor and check a few things.
- Does it answer the main question? A reader should understand the point near the top.
- Are the facts right? Check advice, numbers, names, and claims that could affect someone.
- Are the steps in a useful order? A beginner should know what to do first.
- Do the images match? Look for anything strange or misleading.
- Do the links work? Open internal links and the video before trusting them.
- Does the article add something new? Two posts should not repeat the same answer with different titles.
For the mat-training post I show, I would ask whether the lesson explains the difference between calm behavior and forcing a puppy to stay frozen in place. I would check that the video and words teach the same basic idea. That kind of review is more helpful than only looking at a green SEO light.
Google also tells website owners to focus on helpful, reliable, people-first information. Its guidance for AI Overviews says the same basic SEO practices apply to AI features in Search. There is no special setting that guarantees a place in an AI Overview. You can read Google’s own guide to AI features and your website.
See How My Content Creator Pro Elite Works →
Frequently Asked Questions
Can AI publish WordPress blog posts automatically?
Yes. My Content Creator Pro Elite lets you set up an AI autoblogging campaign in WordPress. With the post status set to Publish, the system can generate and publish articles based on your saved schedule. You do not need to write and publish each one by hand.
Does the plugin publish fresh content every day?
It can support a daily publishing plan when you set up campaigns to cover the days you want. The one campaign I show in detail is set to run on Monday once a week. To have new content on more days, plan more campaigns or the appropriate posting intervals for your site.
Can the AI add pictures, internal links, and a YouTube video?
Yes. I show all three options in this video. I select three images inside the article, with a separate featured image. I turn on Smart / Automatic internal links and show the YouTube video option set to appear near the top of a post.
Will publishing new AI articles guarantee Google rankings or AI Overview mentions?
No. Publishing more pages does not guarantee search traffic, a high ranking, or a mention in an AI Overview. Focus on accurate answers, original experience, clear headings, useful links, and a good page for real people. Those are the things worth checking after your post goes live.
Where can I get My Content Creator Pro Elite?
You can learn more about the plugin, its features, and the current offer at MyContentCreatorPro.com. It is the AI-powered Elite version I’m using in the video, not just the separate free article-library plugin.
My Final Advice: Start With One Good Campaign
If your WordPress blog keeps going quiet, don’t try to fix the whole year in one afternoon. Open your website, choose one subject, set a sensible publishing day, and let AI handle the repeated writing work. Then read the finished article. See if it answers the question, looks right on a phone, and gives the visitor something worth using.
That’s what I’m showing in this video with my Monday Dog Health & Nutrition campaign and the finished puppy-training page. Once you understand how one campaign works, you can add more topics and days without having to write all those articles yourself. My Content Creator Pro Elite is built to make that ongoing WordPress content work easier.
Get My Content Creator Pro Elite →
About the author: I’m Chad Portnova, Owner and Developer of My Content Creator Pro Elite. I use my WordPress websites to show how the plugin works in real campaigns, from the settings screen to the page a visitor sees.